军哥lnmp推荐的还是loveshell的waf网络应用防火墙,这个已经8年没有更新了,也不支持http/2。一番搜索还有个ADD-SP的ngx_waf防火墙,看着也在更新,还可以使用最强waf防火墙ModSecurity,一番使用下来效果不错。
Github 项目地址:https://github.com/ADD-SP/ngx_waf,中文介绍:https://docs.addesp.com/ngx_waf/zh-cn/
我这里使用的是Nginx1.22.0,debian10、11都装过没问题,ngx_waf是最新的 Current 版本。既然要重新编译Nginx,索性一起把最新的brotli压缩一起编译了。brotli压缩比gzip效率更高,文件更小。
ngx_waf功能
- 兼容 ModSecurity (opens new window)。此功能仅限最新的 Current 版本。
- SQL 注入防护(Powered By libinjection (opens new window))。
- XSS 攻击防护(Powered By libinjection (opens new window))。
- 支持 IPV4 和 IPV6。
- 支持开启验证码(CAPTCHA),支持 hCaptcha (opens new window)、reCAPTCHAv2 (opens new window)和 reCAPTCHAv3 (opens new window)。
- 支持识别友好爬虫(如 BaiduSpider)并自动放行(基于 User-Agent 和 IP 的识别)。此功能仅限最新的 Current 版本。
- CC 防御,超出限制后自动拉黑对应 IP 一段时间或者使用验证码做人机识别。
- IP 黑白名单,同时支持类似 192.168.0.0/16 和 fe80::/10,即支持点分十进制和冒号十六进制表示法和网段划分。
- POST 黑名单。
- URL 黑白名单
- 查询字符串(Query String)黑名单。
- UserAgent 黑名单。
- Cookie 黑名单。
- Referer 黑白名单。
编译安装
1、安装lnmp,如果已经装过了军哥的lnmp就不要装了,直接下一步操作。这里只装了Nginx:
apt install git wget curl -y
wget http://soft.vpser.net/lnmp/lnmp1.9.tar.gz -cO lnmp1.9.tar.gz && tar zxf lnmp1.9.tar.gz && cd lnmp1.9 && ./install.sh nginx
2、下载Brotli压缩源码
cd
apt install libbrotli-dev
cd /usr/local/src  && git clone https://github.com/google/ngx_brotli
cd ngx_brotli && git submodule update --init
3、下载ADD-SP的ngx_waf网站应用端防火墙源码
cd /usr/local/src  && git clone -b current https://github.com/ADD-SP/ngx_waf.git
cd ngx_waf
git clone -b v1.7.15 https://github.com/DaveGamble/cJSON.git lib/cjson
git clone -b v2.3.0 https://github.com/troydhanson/uthash.git lib/uthash
4、军哥lnmp1.9进行nginx配置,这里把lua模块也选上了。进入/root/lnmp1.9/lnmp.conf,将Enable_Nginx_Lua='n',改为Enable_Nginx_Lua='y';在Nginx_Modules_Options='' 中加入我们要编译的waf及brotli模块,修改后的代码:
Nginx_Modules_Options=' --add-module=/usr/local/src/ngx_waf --with-cc-opt='-std=gnu99' --add-module=/usr/local/src/ngx_brotli '
5、安装编译所需要的依赖
apt-get update && apt-get install --yes libsodium23 libsodium-dev flex bison libmodsecurity3 libmodsecurity-dev libcurl4-openssl-dev
cd /usr/local/src/ngx_waf && git clone https://github.com/libinjection/libinjection.git inc/libinjection
6、编译Nginx,这里使用的版本是1.22.0,最新的1.23.0未试,看论坛好像和lua有兼容性问题。
cd /root/lnmp1.9/
./upgrade.sh nginx
编译时间不算太长,多次编译均没有问题。剩下的就是配置Nginx了
http {
    # 声明一块共享内存
    waf_zone name=waf size=20m;

    #开启brotli压缩
    brotli on;
    brotli_comp_level 6;
    brotli_buffers 16 8k;
    brotli_min_length 20;
    brotli_types text/plain text/css application/json application/x-javascript text/xml application/xml application/xml+rss text/javascript application/javascript image/svg+xml;

    #其他略过
    server {
        #其他略过

        # on 表示启用,off 表示关闭。
        waf on;

        # 规则文件所在目录的绝对路径,必须以 / 结尾。
        waf_rule_path /usr/local/src/ngx_waf/assets/rules/;

        # 防火墙工作模式,STD 表示标准模式。
        waf_mode STD;

        # CC 防御参数,1000 每分钟请求次数上限,超出上限后封禁对应 ip 60 分钟。
        waf_cc_deny on rate=1000r/m duration=60m zone=waf:cc;

        # 最多缓存 50 个检测目标的检测结果,对除了 IP 黑白名单检测、CC 防护和 POST 检测以外的所有检测生效。
        waf_cache on capacity=50;
    }
    #其他略过
}
详细介绍请移步Ngx_waf官网查询。
开启 ModSecurity
ngx_waf最新的 Current 版本中的已经移除了LIBINJECTION、LIBINJECTION-SQLI、LIBINJECTION-XSS、ADV。需要开启ModSecurity才能更好的防护。
Ngx_waf和ModSecurity兼容,本小站暂时还不需要这个高大上的waf产品。编译安装也已成功,留下记录。
1、安装编译所需要的依赖
apt install gcc make build-essential autoconf automake libtool libcurl4-openssl-dev liblua5.3-dev libfuzzy-dev ssdeep gettext pkg-config libpcre3 libpcre3-dev libxml2 libxml2-dev libcurl4 libgeoip-dev libyajl-dev doxygen -y
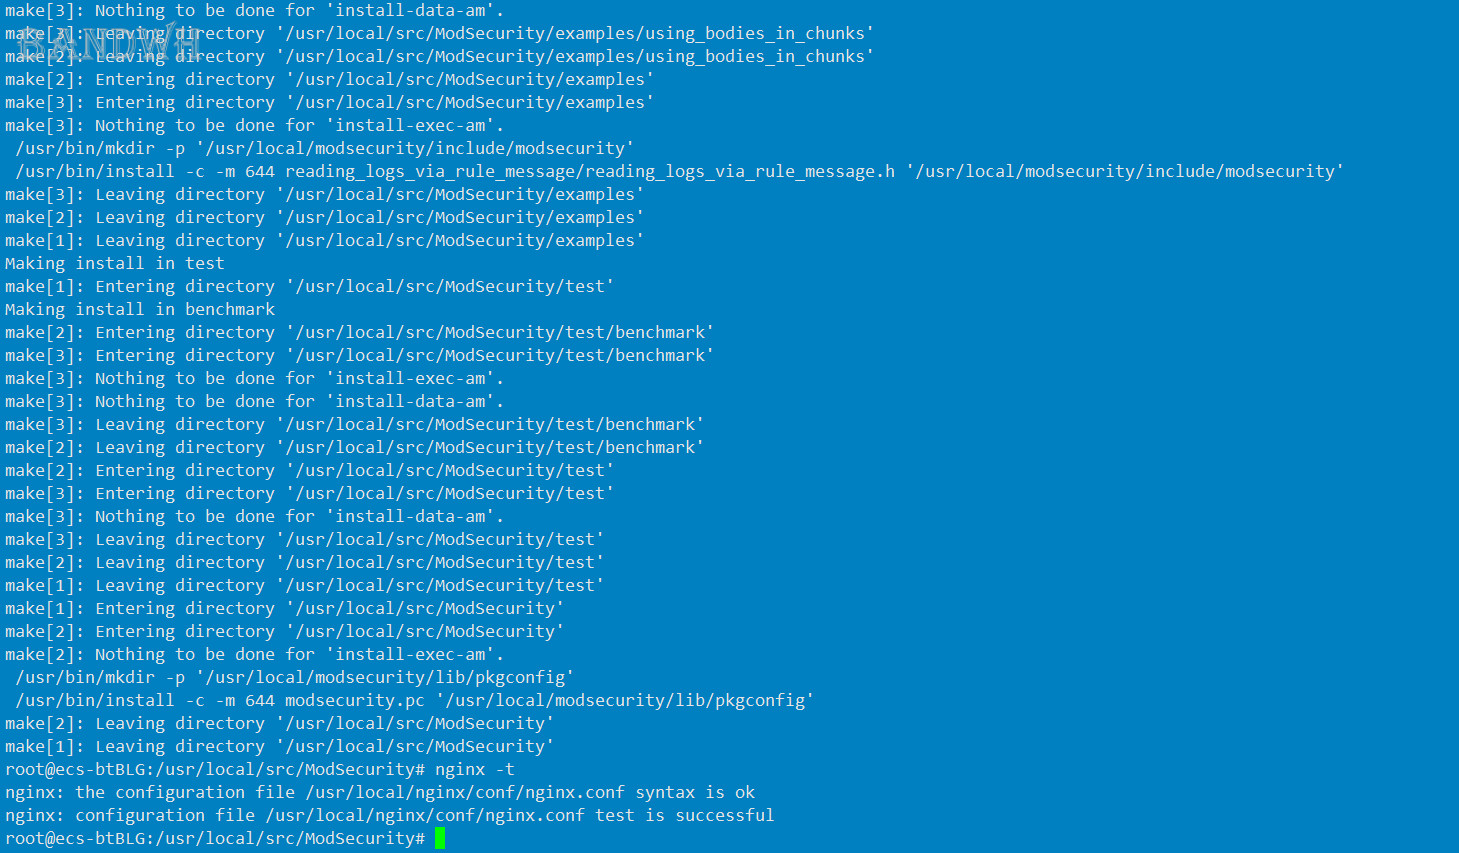
2、编译ModSecurity
cd /usr/local/src
git clone -b v3.0.8 https://github.com/SpiderLabs/ModSecurity.git
cd ModSecurity
chmod +x build.sh
./build.sh
git submodule init
git submodule update
./configure --prefix=/usr/local/modsecurity
make -j$(nproc)
make install
原官网教程ModSecurity的版本是3.0.6,目前ModSecurity新版是3.0.8,里面的规则、配置对3.0.6已经不适用,用3.0.6有各种错误。用新版ModSecurity3.0.8需将官网教程中编辑 /etc/nginx/rules/modsecurity/modsecurity.conf,在文件末尾追加内容改为以下内容:
Include /etc/nginx/rules/modsecurity/crs-setup.conf
Include /etc/nginx/rules/modsecurity/owasp/*.conf
编译时间较长,完成后其他配置按照官网介绍:https://docs.addesp.com/ngx_waf/zh-cn/practice/enable-modsecurity.html

技术不断升级,请注意文章时效性。
本站文章,欢迎转发。转载请注明出处:https://www.bandwh.com/web/918.html
